
Yes, I am still alive. It has been a few months since I have written anything due to a busy summer so here I go! I just got back from attending an Artisan Cheesemaking Course at Cal Poly San Luis Obispo. I have waited all year to get to attend this course and finally it happened. The Dairy Science Department at SLO conducts this course only once a year for people interested in making artisanal cheeses and yes that is me.
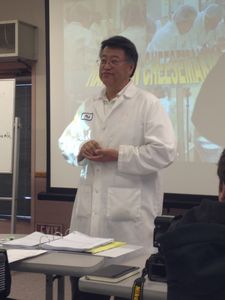
Dr. Phil Tong heads up the Dairy Science Department along with Dr. Rafael Jimenez and Dr. Nana Farke. The team provided us with a four day lecture, tour and hands on cheese making series that was both informative and challenging — especially for those of us that haven’t sat in a college classroom for fifteen plus years!
The program began with an overview of cheesemaking and its principles, milk compositions and fundamentals. That evening we were treated to a wine and cheese reception to mingle with the others students and faculty.
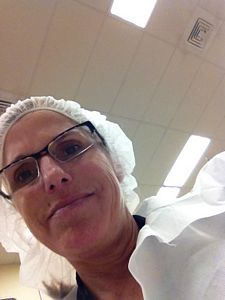
That’s me – Cheesy Rider!
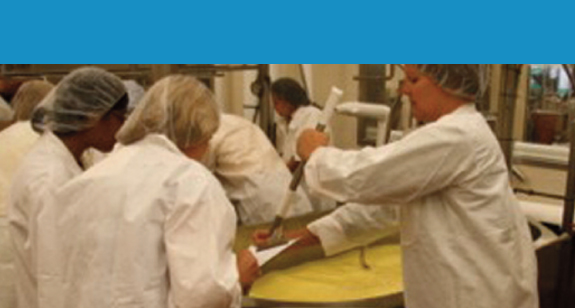
The next day, we had more lectures followed by a tour of the dairy with the Dairy Manager. The third day was hands-on cheesemaking with your designated group and I was lucky enough to get into the Feta and Crescenza group with Dr. Tong overseeing our process.
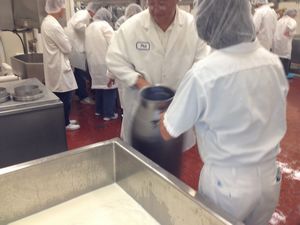
We started by adding the fresh milk to the vat followed by heating it to pasturization point of 166 degrees for just 16 seconds. After dropping the temperature down to 88 degrees we add the starter or culture as many call it. After the starter was added we stirred it lightly and left if alone for about forty minutes. Next, we added lipase (which is needed in Feta making) and stirred it slowly while maintaining 88 degrees. Finally, the rennet was added and the waiting time began for coagulation.
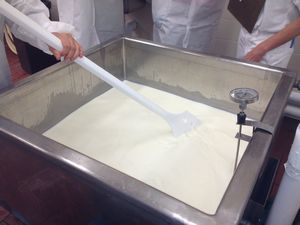
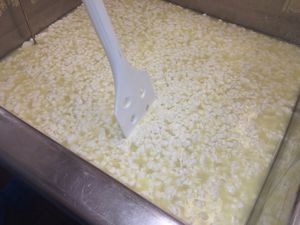
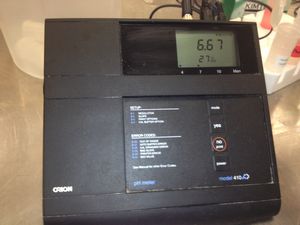
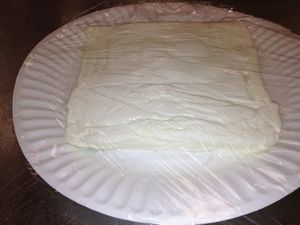
Time is dependent upon how soft or hard you want your curd and the PH level or creaminess you intend on maintaining in your cheese. During this entire process we measured the PH and acidity before and after every addition to the milk. When the curd looked soft and could hold it’s shape, we cut the curd and drained the whey. Next, the hooping began or putting the curd into the forms. After the curds were safely in the forms and a couple of hours had passed we put the cheese into a brine and left it overnight.
The next day, we had a lecture by the dairy inspector, which was quite informative, on safety and how to build a proper creamery followed by a cheese tasting of all of our work. Most of the cheeses were still rubbery and needed age but we knew that before we tasted them.

This course was a wonderful way to get first hand information on cheesemaking and safety standards in the industry. Also, the diverse group of people in the class made it interesting…everything from children of dairy farmers to people moving to New Zealand to open a creamery to chefs and foodies alike. I would highly recommended it!

Dairy Products Technology Center, Cal Poly San Luis Obispo, San Luis Obispo, CA
No Comments